The Microsoft Surface Pro has strong hardware specs, the perfect high-resolution touchscreen and an advanced precision pen. It should be the perfect device for managing and editing your images, especially when on the road. Unfortunately it is not that easy – it seems that nobody at Microsoft or Adobe really tested that scenario thoroughly. This article will highlight some of the things you will most likely want to do, if you intend to use your Surface for browsing and editing you images using Adobe Photoshop and Adobe Photoshop Lightroom.
Tablet mode vs. Desktop mode
The Surface series and other Windows 10 based tablets change between tablet mode (no keyboard/touchpad) and normal desktop mode, where the use is simply like any other laptop. By default, it shifts automatically when detecting that the status of the keyboard or type cover has changed, for example when you wrap the type cover to the back of the Surface. I have experienced that the change between the tablet/desktop mode is sometimes not entirely right, so I recommend that you go to settings, and make sure that your Surface asks you whenever it is about to change the mode. This is done in Settings -> Tablet. When here, you can also navigate to More tablet settings and check if they are to your preferences.
Browsing photos in tablet mode
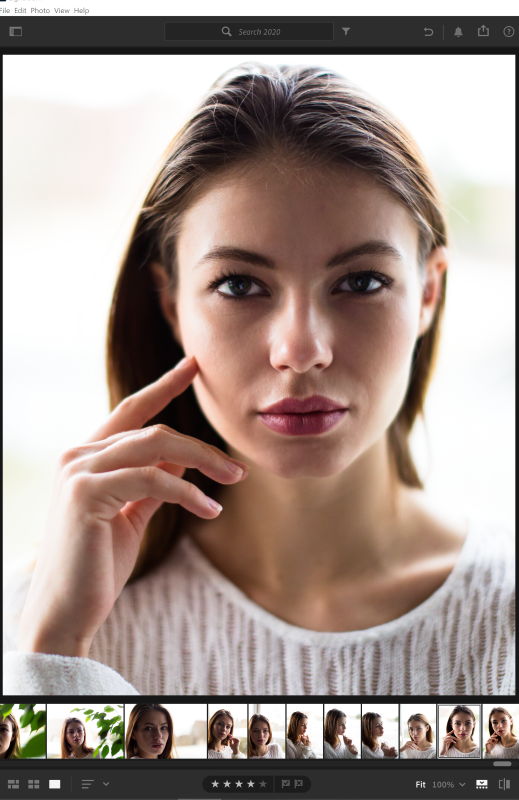
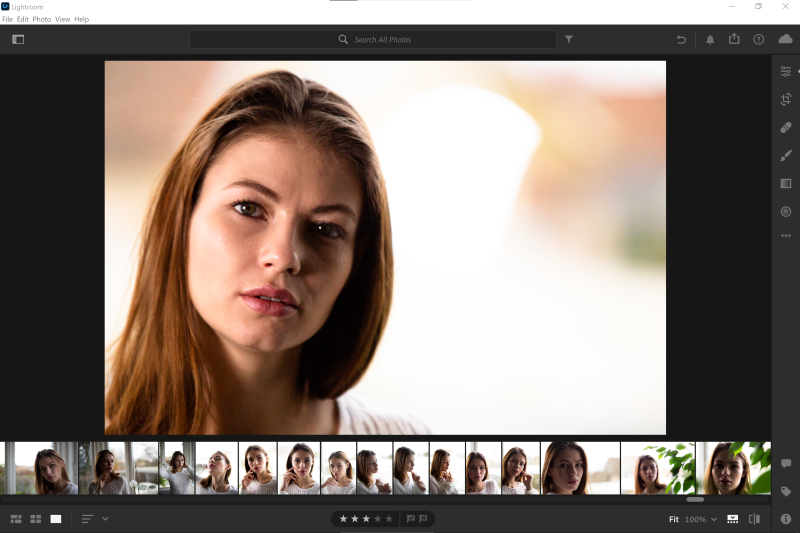
Adobe Photoshop Lightroom – not the “Classic” version – has several great features that are very useful when you have a touchscreen. The application offers touch-gestures for fast browsing, flagging and rating of images. With the Surface in tablet mode, this seems like a great way to go over your images after a shoot – preferably on the couch and with the legs up. But then the problems start: Windows 10 has gesture commands of its own, and when touching or swiping the screen close to the right edge, it opens the action center, and near the left edge it opens the task view. So there is a good chance that you will find yourself accidentally triggering these Windows commands again and again, breaking any efficient workflow Lightroom tried to implement by having smart gesture commands.
Stop Windows from opening side panels
Windows 10
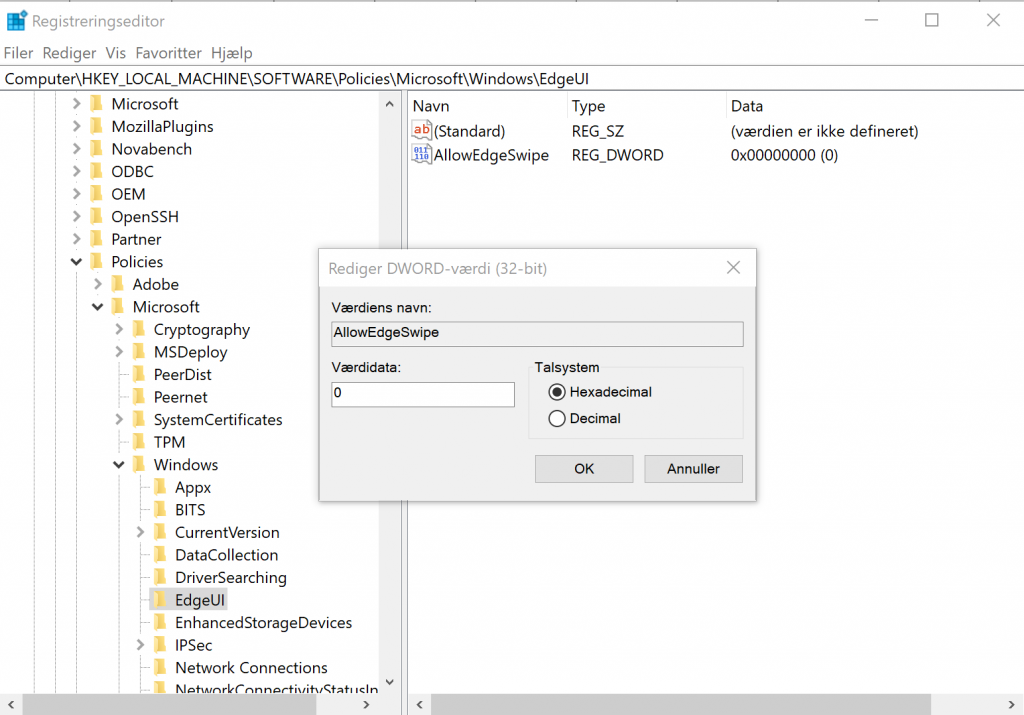
There is a trick that allows you to disable the Windows 10 gestures at the left and right edge of the screen when in tablet mode. You need to edit a registry key in the Windows registration database. This is not difficult, but if you haven’t tried it before, I recommend teaming up with a nerdy family member to not make any fatal mistakes.
- Open the Windows registry editor by pressing the Windows button and typing “regedit”, then click to run the registry editor
- Navigate the tree to locate the key
HKEY_LOCAL_MACHINE\SOFTWARE\Policies\Microsoft\Windows\EdgeUI - Edit or add the key
AllowEdgeSwipegiving it the value 0 [zero].
Windows 11
In Windows 11, this registry key does not exist, but fortunately there is an alternative method to disable side panels and edge gestures on Windows 11, preventing the edge panels to open.
Open Local Group Policy Editor. This is easily found by searching from the Start menu for “group” or “group policy”. Navigate the tree in the editor and find Computer Configuration\Administrative Templates\Windows Components\Edge UI. Here you need to set the value Allow edge swipe to Disabled.
I am quite sure you will not miss the ability to slide the side panels open in Windows. After disabling the edge swipes, the task view can be opened by its corresponding icon in the left side of task bar instead, and the action center by clicking the action center icon in the right side of the task bar. What you will not miss is to try set the flagged status or rating on images and constantly being thrown into Windows settings and notifications, or the not very useful Windows 10 task view.